Seed Preparation
Preparing seeds for the garden is an essential step to ensure successful germination and healthy plant growth.
Here’s a step-by-step guide to help you get your seeds ready for planting:
1. Choose Your Seeds
- Select seeds suited to your climate: Make sure the seeds you choose are appropriate for your growing zone and the current season (e.g., cool-season crops like lettuce or warm-season crops like tomatoes).
- Check the seed packet: Each packet provides crucial information, such as planting depth, spacing, and recommended planting time.
2. Start Seeds Indoors (if necessary)
Some plants benefit from being started indoors before transplanting outside. Here’s how to prepare seeds for indoor sowing:
- Use clean containers: Start with seed trays, pots, or any container with drainage holes.
- Fill with seed-starting mix: Use a lightweight, sterile seed-starting mix. Avoid using garden soil, as it may contain pathogens.
- Plant at the right depth: Check the seed packet for planting depth. Generally, seeds should be planted about 2-3 times their size deep into the soil.
- Water gently: After planting, water the seeds gently to avoid disturbing them. Keep the soil moist, but not soggy.
3. Pre-Sprouting or Soaking Seeds (Optional)
For certain types of seeds, soaking or pre-sprouting can speed up germination:
- Use clean containers: Start with seed trays, pots, or any container with drainage holes.
- Fill with seed-starting mix: Use a lightweight, sterile seed-starting mix. Avoid using garden soil, as it may contain pathogens.
- Plant at the right depth: Check the seed packet for planting depth. Generally, seeds should be planted about 2-3 times their size deep into the soil.
- Water gently: After planting, water the seeds gently to avoid disturbing them. Keep the soil moist, but not soggy.
4. Cold Stratification (For Certain Seeds)
Some seeds, particularly perennials or trees, require a period of cold to break dormancy (cold stratification):
- Store in a cold environment: Place seeds like lavender, milkweed, or coneflower in a damp paper towel or small bag and store them in the fridge for several weeks (typically 3-6 weeks, depending on the seed type).
- Monitor moisture: Keep the paper towel or bag damp, not soaking wet, to prevent mold.
5. Scarification (For Hard Seeds)
Some seeds have tough outer shells that make germination difficult. Scarification helps break the seed coat to encourage sprouting:
- File the seeds: Lightly scratch the surface of the seed with sandpaper or a nail file. This method is helpful for seeds like morning glories and larkspur.
- Use a knife: For large, hard seeds (like acorns or peach pits), carefully cut the seed coat with a knife to help water penetrate the seed.
6. Harden Off Seedlings (For Transplants)
Before planting your seedlings outdoors, they need to be gradually acclimatized to outdoor conditions. This process is called hardening off:
- Begin 7-10 days before transplanting: Start by placing your seedlings outside for a few hours in a shaded area, then gradually increase the time spent outdoors.
- Increase exposure: Over the course of a week, expose your seedlings to direct sunlight and outdoor temperatures. This helps them toughen up and adapt to the harsher outdoor environment.
- Avoid wind and frost: Be cautious of strong winds or late frosts that may harm your seedlings. Bring them indoors if temperatures drop too low.
7. Direct Sowing (For Outdoor Seeds)
Some plants are best directly sown into the garden, especially those with larger seeds like beans or sunflowers:
- Prepare the soil: Loosen the soil with a rake or hoe to ensure good seed-to-soil contact.
- Follow spacing guidelines: Check your seed packet for spacing recommendations and plant the seeds at the correct depth.
- Water gently: After sowing, water the seeds gently. Use a fine spray or watering can to avoid displacing the seeds.
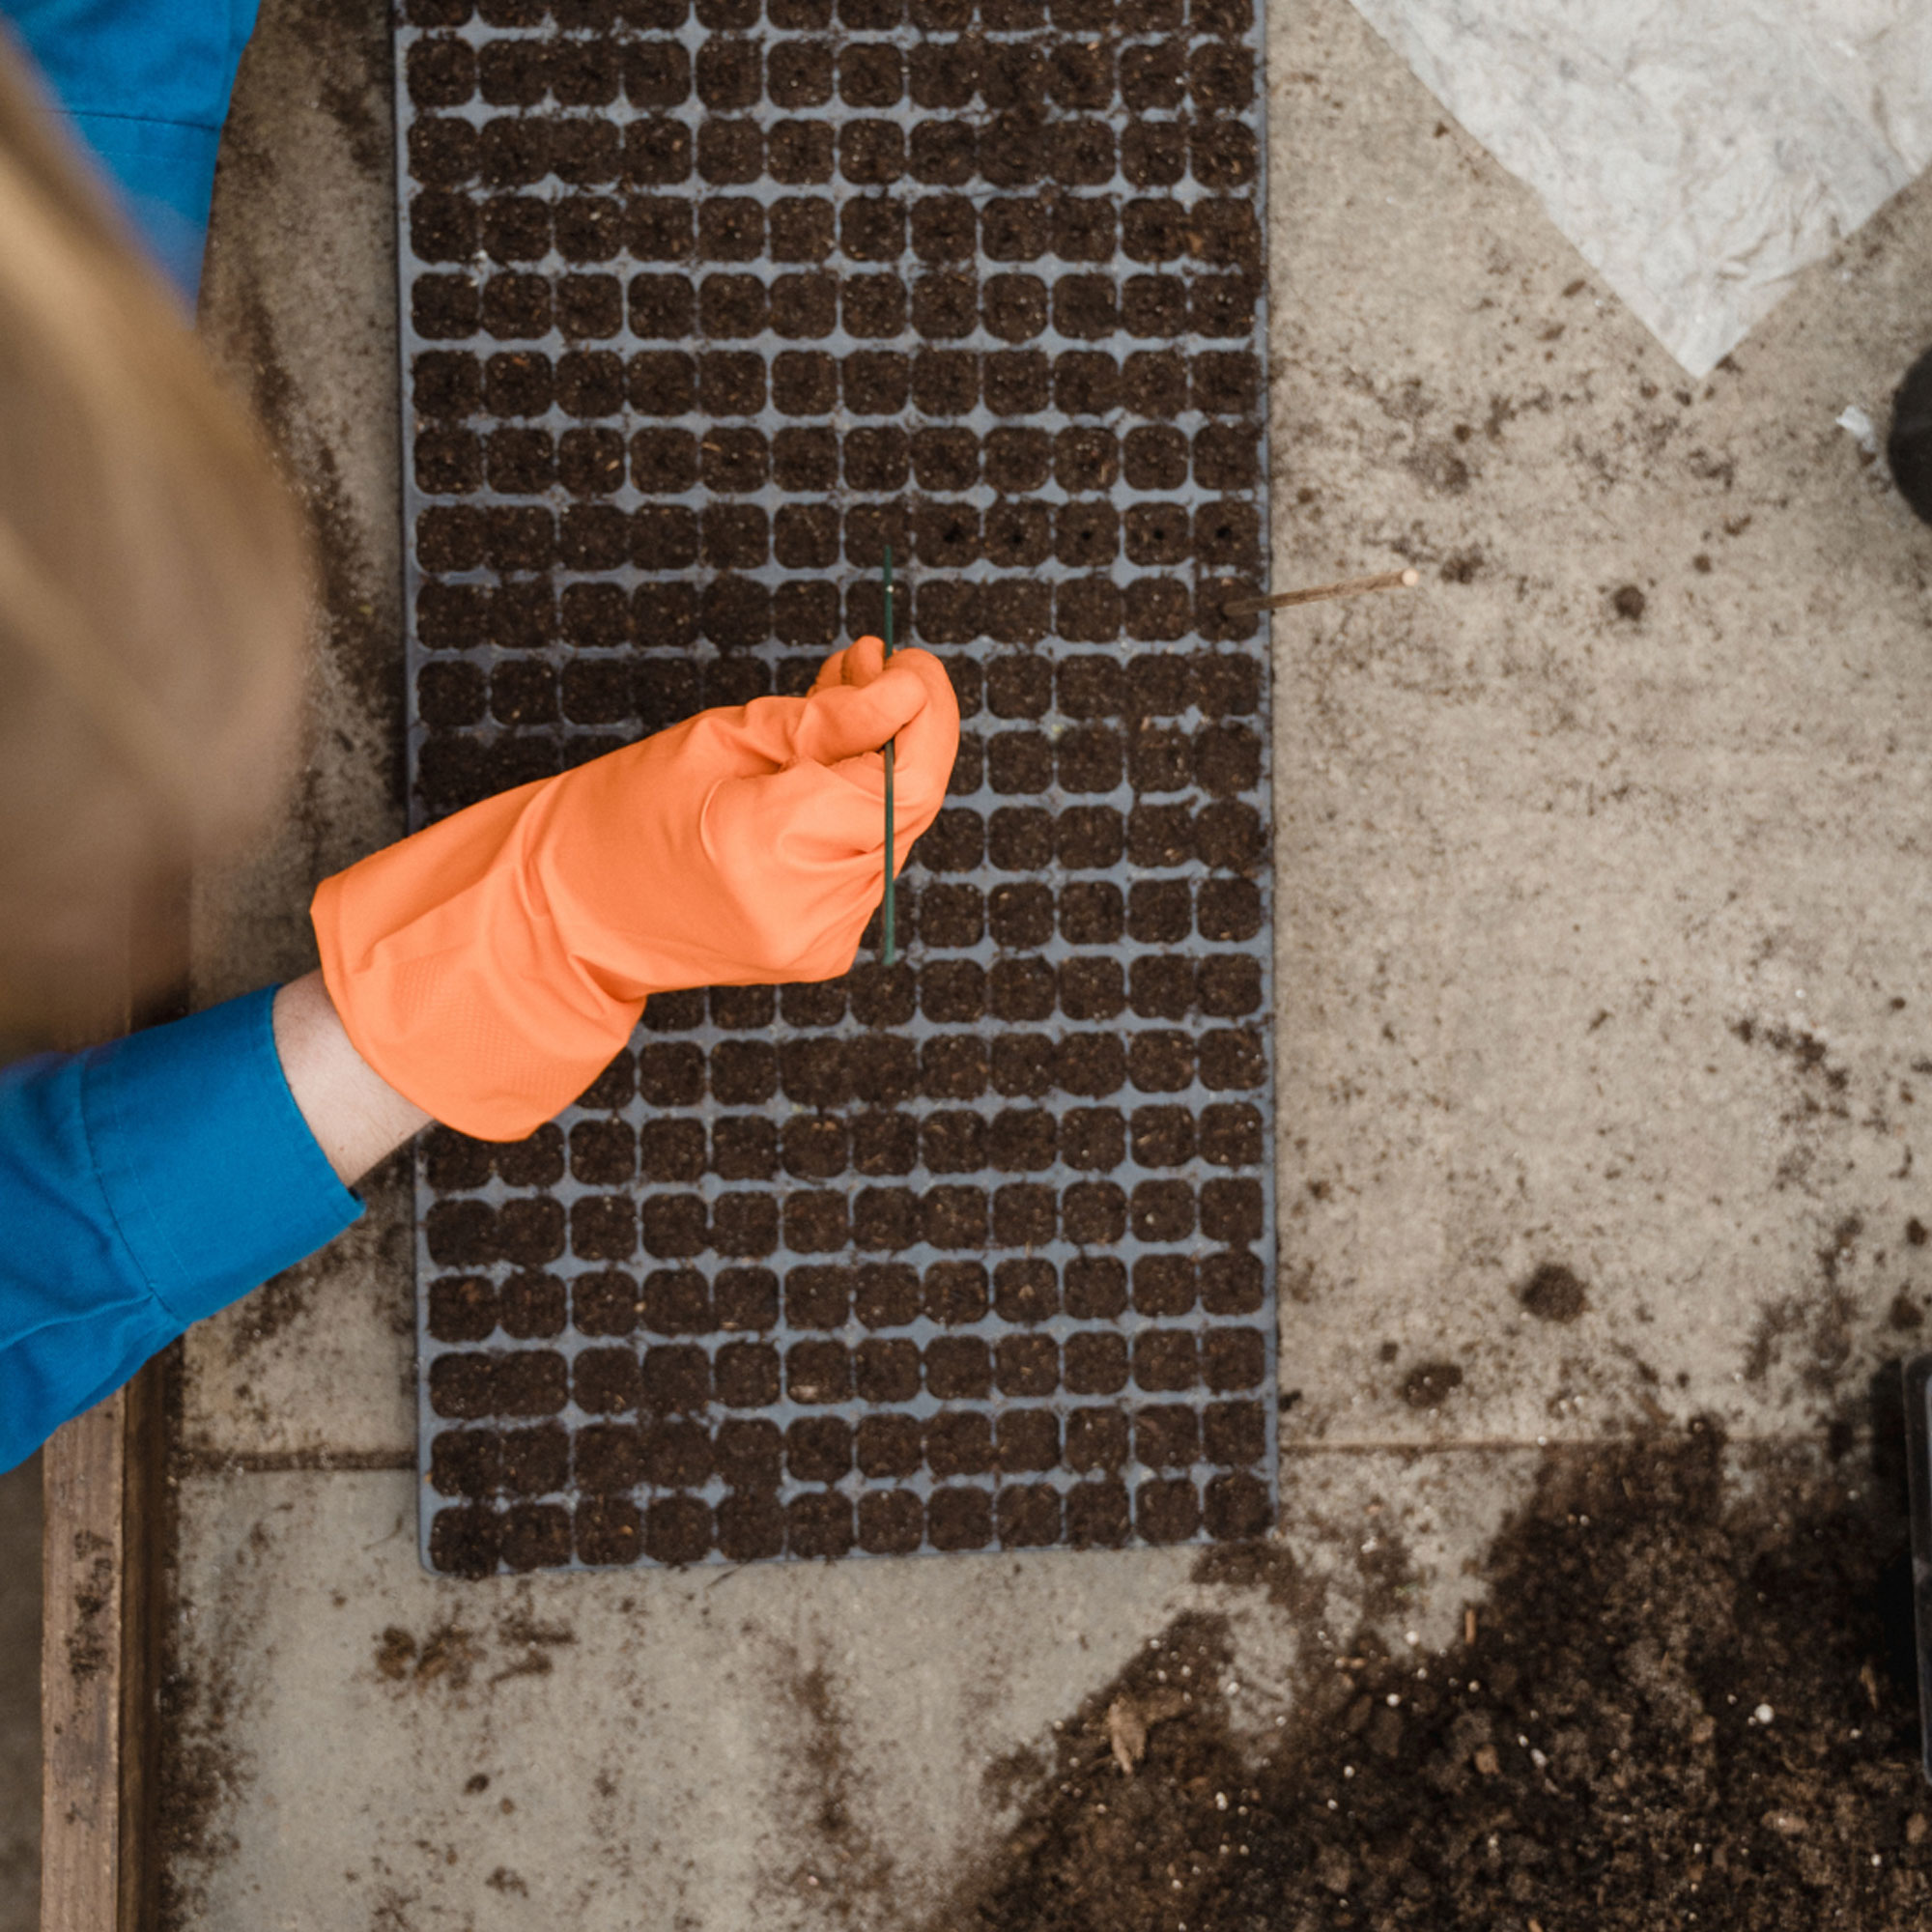
8. Use Plant Markers
Label your seeds with plant markers or a garden journal to keep track of what you’ve planted. This is especially useful if you’re starting multiple varieties or planting at different times.
9. Maintain Optimal Conditions
- Light: If starting indoors, ensure your seeds get enough light. Use grow lights or place your containers in a sunny spot.
- Temperature: Most seeds prefer a warm, consistent temperature (65°F-75°F / 18°C-24°C) to germinate. Use a seed heat mat if necessary.
- Humidity: Keep the soil consistently moist but not waterlogged. You can cover containers with plastic wrap or a humidity dome to maintain moisture and warmth.
10. Monitor Growth
- Thinning: Once your seedlings have sprouted and grown strong enough, thin them to avoid overcrowding. Follow the recommended spacing on the seed packet to ensure healthy growth.
- Check for pests: Keep an eye on seedlings for pests or diseases, and take action early if you notice any issues.
By following these steps, you’ll give your seeds the best chance for successful germination and healthy growth. Happy gardening! 🌱🌻